Sticker Artwork Requirements: Cut Lines, Bleed and Colours
A practical guide to preparing a sticker file: cut contour line, 2 mm bleed, 3 mm safety margin, CMYK and 300 dpi.
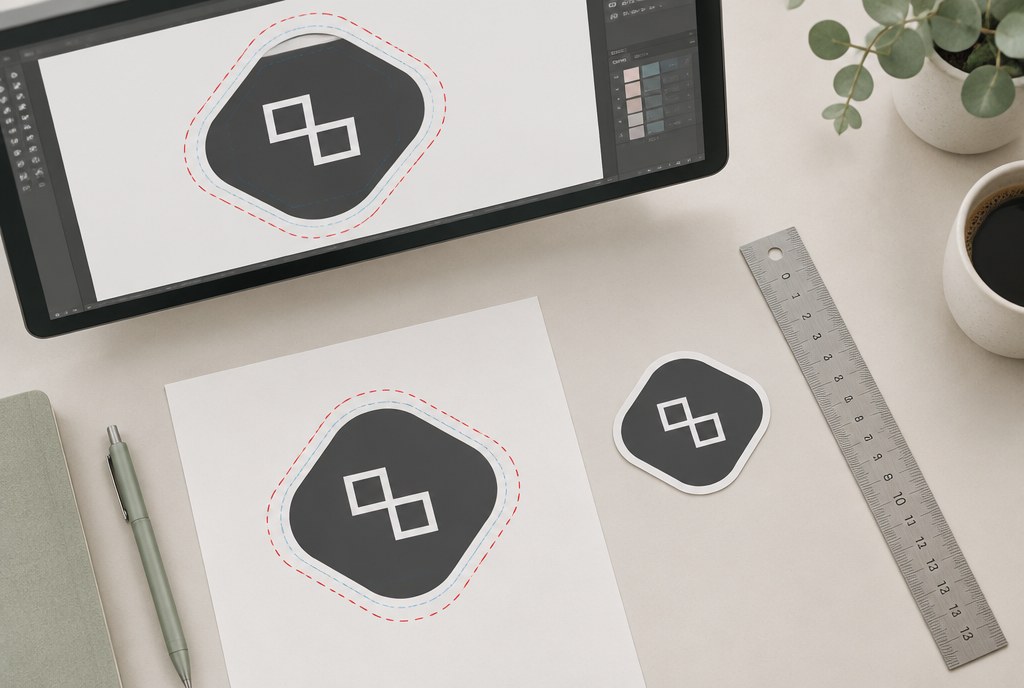
Sticker artwork requirements are straightforward: a vector file (.ai, .eps, .pdf or .svg) in CMYK, raster images at 300 dpi at actual size, a 2 mm bleed around the perimeter, a 3 mm safety margin for text and logos, plus a separate cut contour line if the sticker isn't rectangular. If these five points are in order, the artwork goes straight to production without rework, and you receive your stickers within 1–3 business days. We don't charge a preparation fee for checking sticker artwork.
What file format to send
The best option is vector graphics: .ai, .eps, .pdf or .svg. In vector format, text and lines stay sharp at any size, and the cut contour line can be read directly by the cutting plotter.
- Text converted to outlines, or fonts embedded.
- Raster images (photos, backgrounds) embedded in the file rather than linked, at 300 dpi at final size.
- Effects (shadows, transparency, gradients) flattened or verified via PDF/X export.
- We accept JPG or PNG if the sticker is rectangular or round with a simple contour and the resolution is at least 300 dpi.
Word, Excel, PowerPoint and Canva screenshots usually need to be redrawn — in that case you'll see a separate artwork preparation line item in the quote.
Cut contour line
If the sticker is die-cut to shape, the artwork needs a single closed vector line marking the cut. A setup that works without extra questions:
- Line name: `CutContour` (spot colour), no fill, 0.25 pt thick.
- One object per sticker — no doubled or overlapping lines.
- The line on its own layer named `Cut` or `Kontura`.
- Sharp corners rounded with a 1–2 mm radius; pointed corners tend to peel and chip faster in practice.
- Minimum element size for cut contouring — around 10 mm; the film won't hold finer detail.
Cutting tolerance is roughly ±0.5 mm, so the design shouldn't be matched to the contour with millimetre precision.
Bleed and safety margin
Two margins that get mixed up most often: bleed sits outside the cut line, the safety margin sits inside it.
| Parameter | Sheet stickers | Roll stickers | Large stickers (>A3) |
|---|---|---|---|
| Bleed | 2 mm | 2 mm | 3–5 mm |
| Safety margin from cut line | 3 mm | 3 mm | 5 mm |
| Spacing between stickers on a sheet | 3–5 mm | — | — |
| Cutting tolerance | ±0.5 mm | ±0.5 mm | ±1 mm |
If the sticker has a coloured background, it needs to extend to the bleed edge — otherwise a thin white line can appear after cutting. If the background is white or transparent, bleed isn't essential, but the safety margin still applies.
Frames and borders
It's best to avoid thin frames along the sticker edge altogether, or keep them at least 3 mm from the cut line. Otherwise, due to tolerance, the frame will measure 1 mm on one side and 2 mm on the other — and that's immediately noticeable.
Colours: CMYK, spot and white
Printing is done in CMYK, so all RGB objects get converted. To avoid surprises after printing:
- Build the file in CMYK from the start; bright RGB blues and greens turn duller in print.
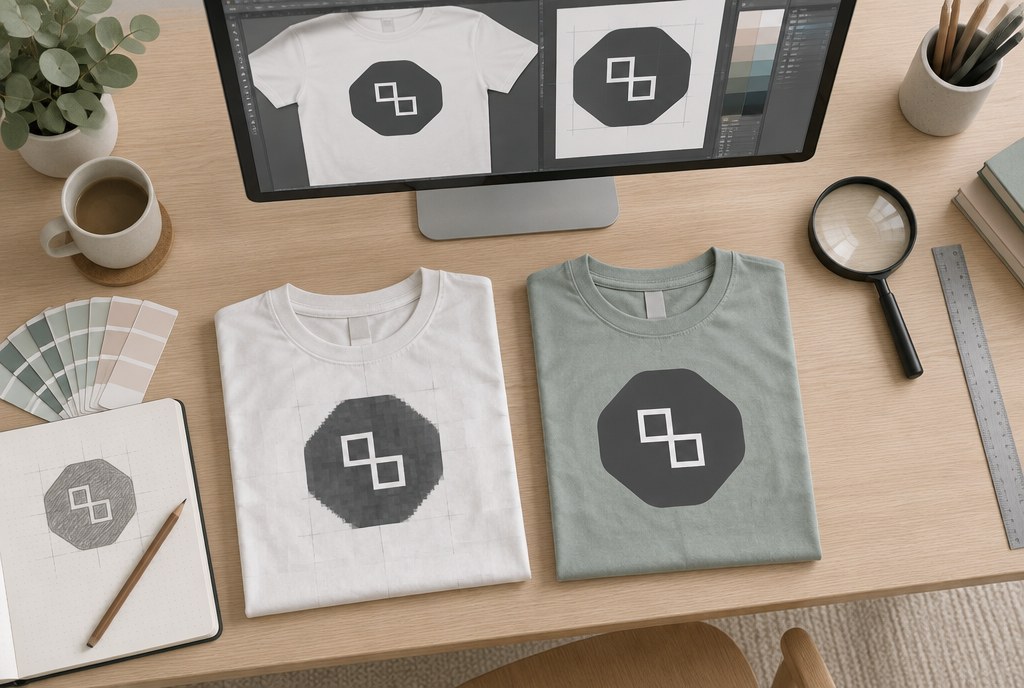
- Set black text to 100% K rather than composite black — otherwise small text looks blurred.
- For large black areas: C40 M30 Y30 K100 gives a deeper black.
- Specify Pantone shades in the request text; in digital printing we match them as closely as possible, but an exact match isn't guaranteed.
- Minimum text size — 6 pt; light text on a dark background — from 8 pt.
Transparent and metallic stickers
On transparent film or mirror film, white isn't printed automatically. If you need a white base under a logo, mark it in the artwork with a separate spot colour `White` on its own layer, and note where white is needed and where it isn't. The same applies to silver brushed film — areas without a white base will look metallic.
Prices and what they include
Sticker prices in Latvia are calculated per square metre of finished printed material. Indicative prices excl. VAT:
| Sticker type | Price, EUR/m² |
|---|---|
| Standard print, no cutting | from 17.60 |
| Cut film + transfer tape (no print) | from 20.80 |
| Print + contour cutting + transfer tape | from 24.00 |
| Laminated stickers (print + laminate) | from 24.00 |
| Easy removable stickers | from 28.80 |
| Floor stickers with floor laminate | from 40.00 |
| Transparent stickers | from 48.00 |
| Mirror film stickers | from 48.00 |
| Silver brushed stickers | from 64.00 |
Artwork checking and sticker layout on the sheet are free of charge. The exact price depends on sticker size, shape, material and total area — a small size in a large run costs less per square metre. More on materials and formats: sticker printing.
Pre-flight checklist
Before sending, go through these points:
- Document size matches the final sticker size in millimetres (not "approximately A6").
- Bleed 2 mm, safety margin 3 mm.
- The contour is a single closed `CutContour` line on its own layer.
- Colours are CMYK, black text at 100% K.
- Raster images at 300 dpi at actual size.
- Text converted to outlines, or fonts embedded.
- The file name includes size and quantity, e.g. `sticker_50x70_500pcs.pdf`.
Once we receive the file, we send you an artwork preview with the cut line marked. We only send it to print after written approval by email. If the file needs to be redrawn from scratch, we'll let you know upfront in the quote, not during production. See examples in our portfolio, or check requirements for other print products under digital printing.
FAQ
How much bleed do stickers need?
For standard stickers, 2 mm around the entire perimeter; for large-format stickers from A3 size up, 3–5 mm. Keep text and logos at least 3 mm from the cut line.
How do I correctly mark the cut contour line?
Create a single closed vector line with no fill, assign it a spot colour named CutContour, 0.25 pt thickness, and place it on its own layer. If a sheet contains several shapes, each one needs its own separate line.
Can I send a JPG or PNG file?
We can work with a raster file if the resolution is at least 300 dpi at final size and the sticker shape is simple — rectangular or round. A complex contour and fine text require vector graphics.
How do I get white elements on transparent film?
White has to be printed separately. In the artwork, mark the areas that need a white base with a spot colour White on its own layer, and add a comment. If this isn't specified, those areas will stay transparent.
How accurate is the cutting?
Contour cutting tolerance is roughly ±0.5 mm, up to ±1 mm for large formats. That's why thin frames along the edge and elements precisely matched to the cut line are best avoided.
How long do stickers take after artwork approval?
Usually 1–3 business days, depending on material and quantity. Urgent jobs can be arranged separately.